Planning a party, decorating for an event, or simply want to add a festive touch to your home? Balloons are a go-to choice, instantly transforming any space. However, the joy of vibrant decorations often comes with the frustration of sore fingers and slow progress from tying countless knots. If you've ever battled stiff latex, aching fingertips, or the sheer tedium of tying dozens of balloons, you know the struggle is real.
Imagine a world where you can tie balloons effortlessly, quickly, and without a single sore spot. This isn't a pipe dream; it's the reality offered by a simple, ingenious device: the balloon tying tool. This unassuming gadget is a game-changer for anyone dealing with multiple balloons, from casual party throwers to professional decorators. It's designed to streamline your party prep, protect your hands, and ensure every knot is perfect.
Why Every Party Planner Needs a Balloon Tying Tool
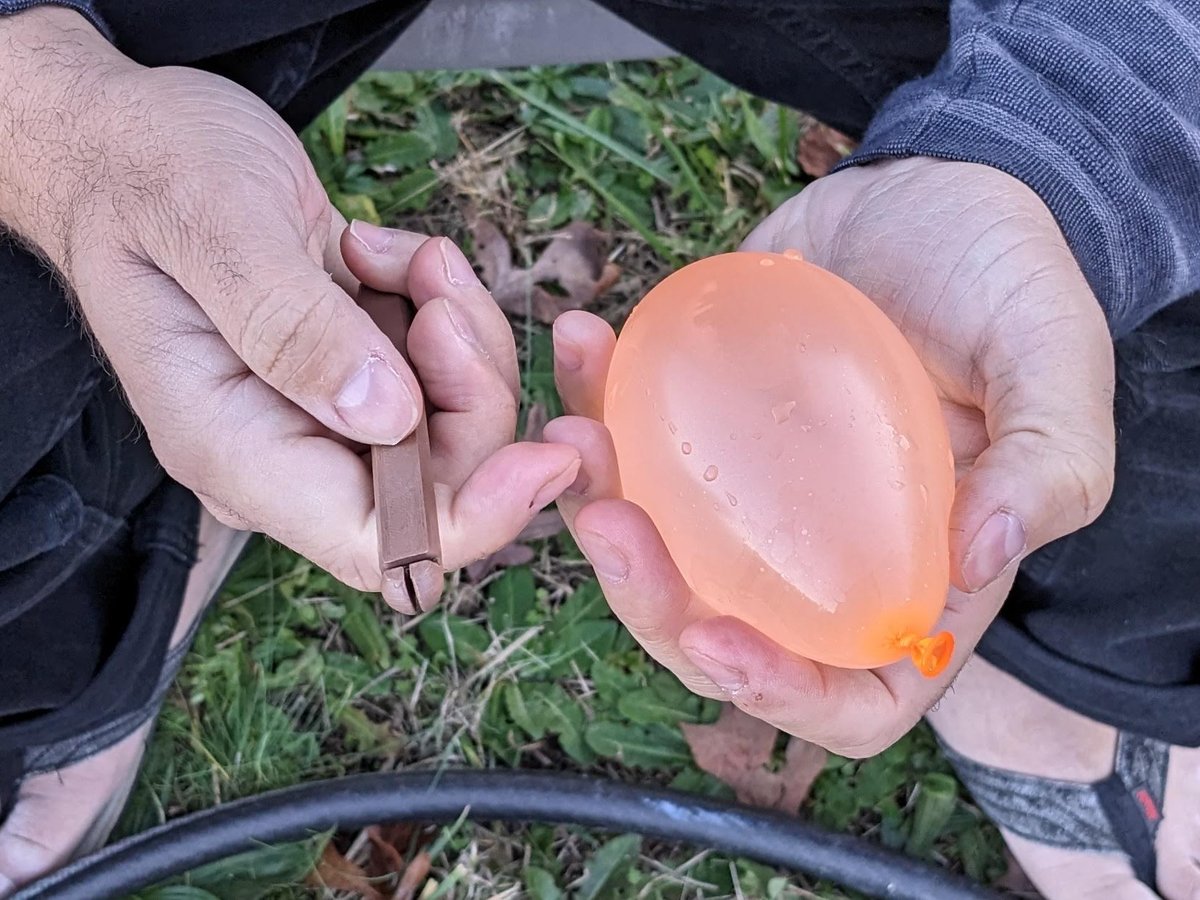
At its core, a balloon tying tool is a long plastic piece, expertly designed to help you quickly wrap a balloon's neck and form a secure knot. It eliminates the direct friction and strain on your fingers, making the process faster and infinitely more comfortable. This simple innovation isn't just about convenience; it's about transforming your entire balloon decorating experience, turning a chore into a seamless part of your celebration planning.
Beyond just saving your fingers, there are many Benefits of Using a Balloon that make this simple gadget a party essential. It's a small investment that pays off in time saved, comfort gained, and professional-looking results. Before diving into the 'how-to,' let's first Explore balloon tying tools Discover balloon to understand the options available and find the perfect fit for your needs.
Mastering Your Balloon Tying Tool: A Step-by-Step Guide
The true magic of a balloon tying tool lies in its simplicity and effectiveness. Once you get the hang of it, you'll wonder how you ever managed without one. Mastering the technique is simpler than you think; learn how to Use your tying tool effectively with our comprehensive guide, starting with these fundamental steps:
- Wear the Tool: Slide the tool's ring onto your index and middle fingers of your non-dominant hand. Position the nose in your palm with the open side facing your fingertips. For alternative comfort, you can use your ring finger or even position the nose on the back of your hand.
- Prepare the Balloon: First, inflate the balloon to your desired size. Then, pinch its end securely between your thumb and index finger of your non-dominant hand, ready for the next step.
- Wrap the Balloon: With the balloon's end pinched, stretch it firmly and wrap it once tightly around the middle of the tool's nose. Ensure it's snug but not over-stretched to avoid accidental pops.
- Pass Through: Now, cross the balloon's end over the wrapped section. Carefully guide the end into the hollow middle of the tool, pushing it underneath the stretched part. If your tool has a specific slot, tuck the end into it to hold it steady.
- Finish the Knot: While still holding the balloon's end, smoothly slide the entire balloon straight off the tool's nose. Give the end a final pull to tighten the knot securely. Voila! A perfectly tied balloon, no sore fingers required.
Elevating Your Balloon Game: Expert Techniques and Tips
Once you've mastered the basic knot, you can explore more advanced techniques to enhance your balloon displays. Professional balloon artists often employ clever tricks to speed up their work and create stunning arrangements.
Tying a Ribbon with Your Balloon
Adding ribbons is a beautiful way to finish your balloons. To incorporate a ribbon directly into the knot, follow the standard tying steps as outlined above. During step 4, just before you pass the balloon end through the tool, feed a ribbon into the open side of the tying tool. Make sure the ribbon goes underneath the stretched section of the balloon. As you complete the knot, the ribbon will be securely fastened in place.
Professional Tips from Ahzahdeh Neshat
Expert balloon artist Ahzahdeh Neshat offers these invaluable insights for handling balloons like a pro:
- Tying Multiple Balloons Together: For quick clusters, take the two ends of the balloons you wish to join, twist them around each other much like you would begin tying shoelaces, then secure them with a simple knot. This creates sturdy pairs for garlands and arches.
- Untying a Balloon Knot: Accidents happen, or plans change. If you need to untie a balloon knot without popping it, gently use the end of a knitting needle or a similar blunt, thin object. Work it carefully into the knot to loosen it up. Patience is key here to preserve your balloon.
Selecting and Caring for Your Essential Tool
Choosing the right balloon tying tool might seem straightforward, but a little guidance can ensure you pick one that truly suits your needs. Our Buying Guide: Choosing Your Balloon will walk you through the various features and designs to help you make an informed decision, ensuring comfort and efficiency for countless future events.
To ensure your tool lasts for countless celebrations, understanding Balloon Tying Tool Maintenance & is key. Generally, these tools are durable and require minimal upkeep—a quick wipe-down to remove any latex residue is usually all that's needed to keep it in prime condition.
Embrace Effortless Balloon Decorating
The balloon tying tool is more than just a gadget; it's an investment in smoother party preparations, happier hands, and a more enjoyable decorating experience. No longer will you dread the prospect of tying dozens of balloons. Instead, you'll be able to focus on the fun of creation and the joy your vibrant displays bring. So, grab your tool, inflate those balloons, and get ready to transform any occasion with ease and flair!